The Aura A-Series is built to fit yourself. It's on in under 10 minutes. Here's the whole job, step by step, with the video if you'd rather watch.
Step 1: Screw the sensors onto the valves
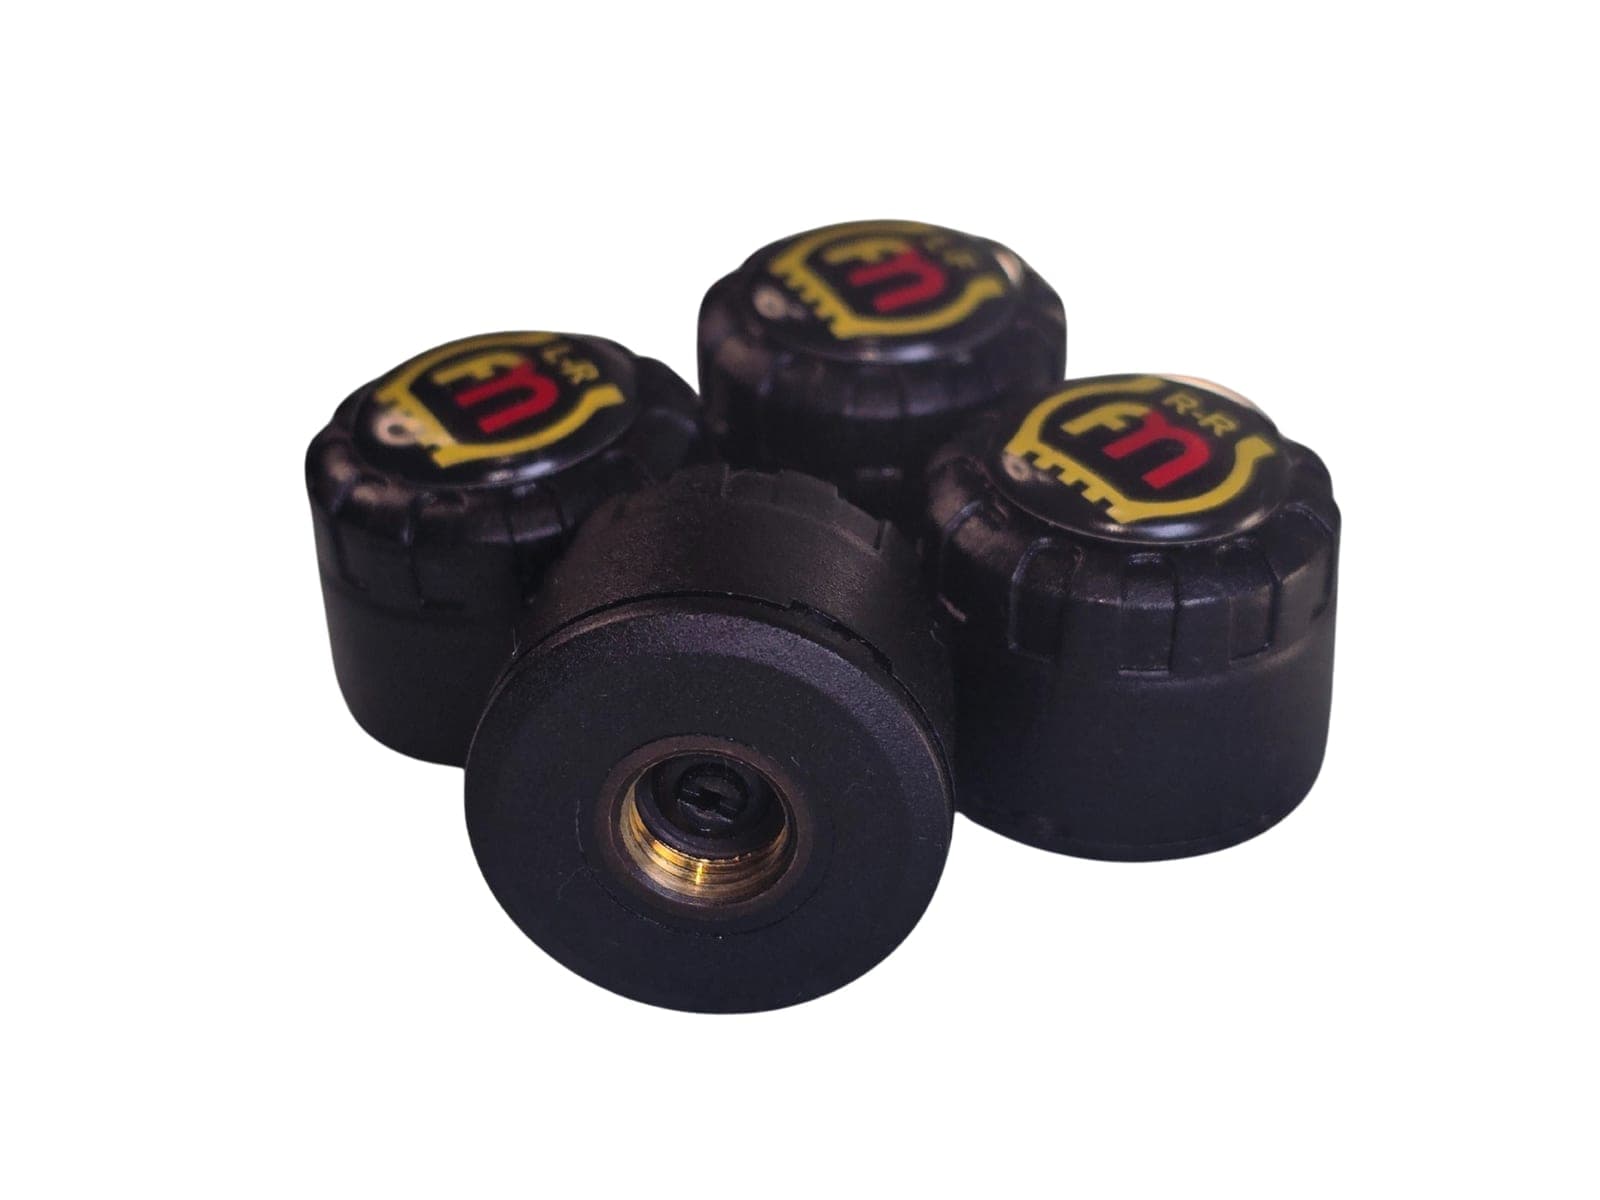
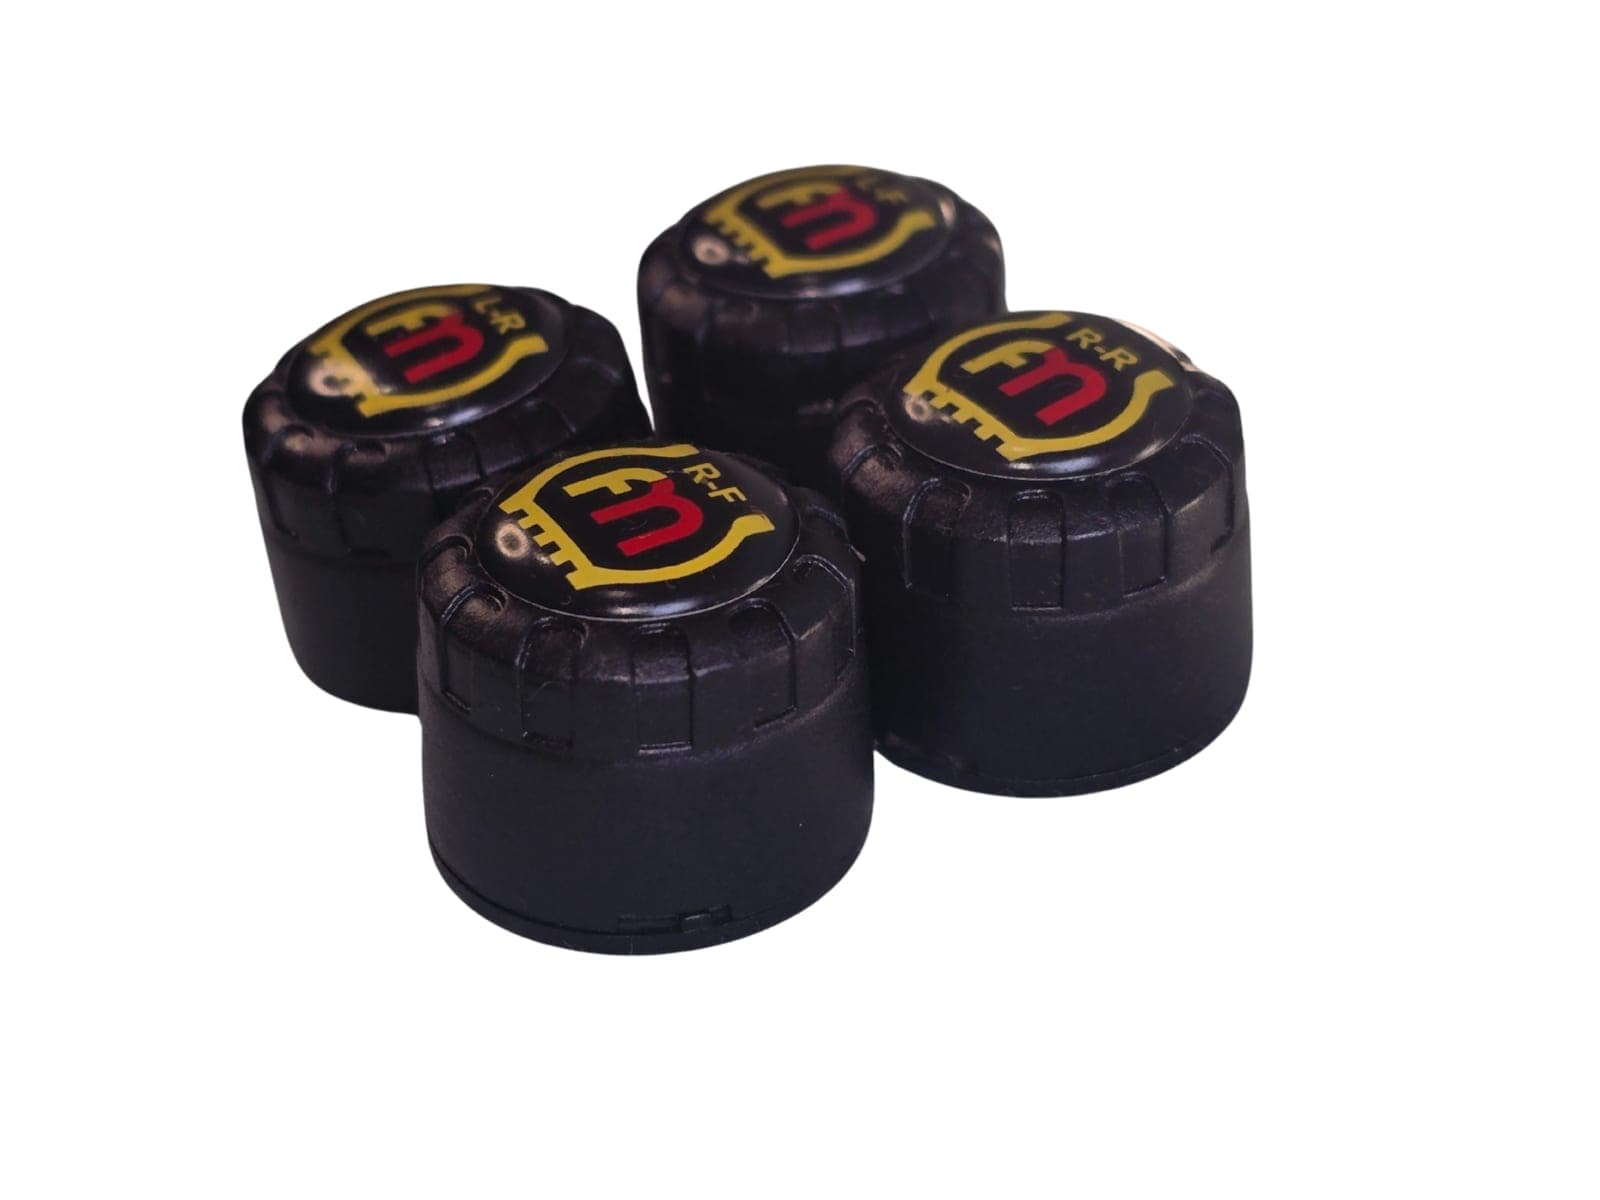
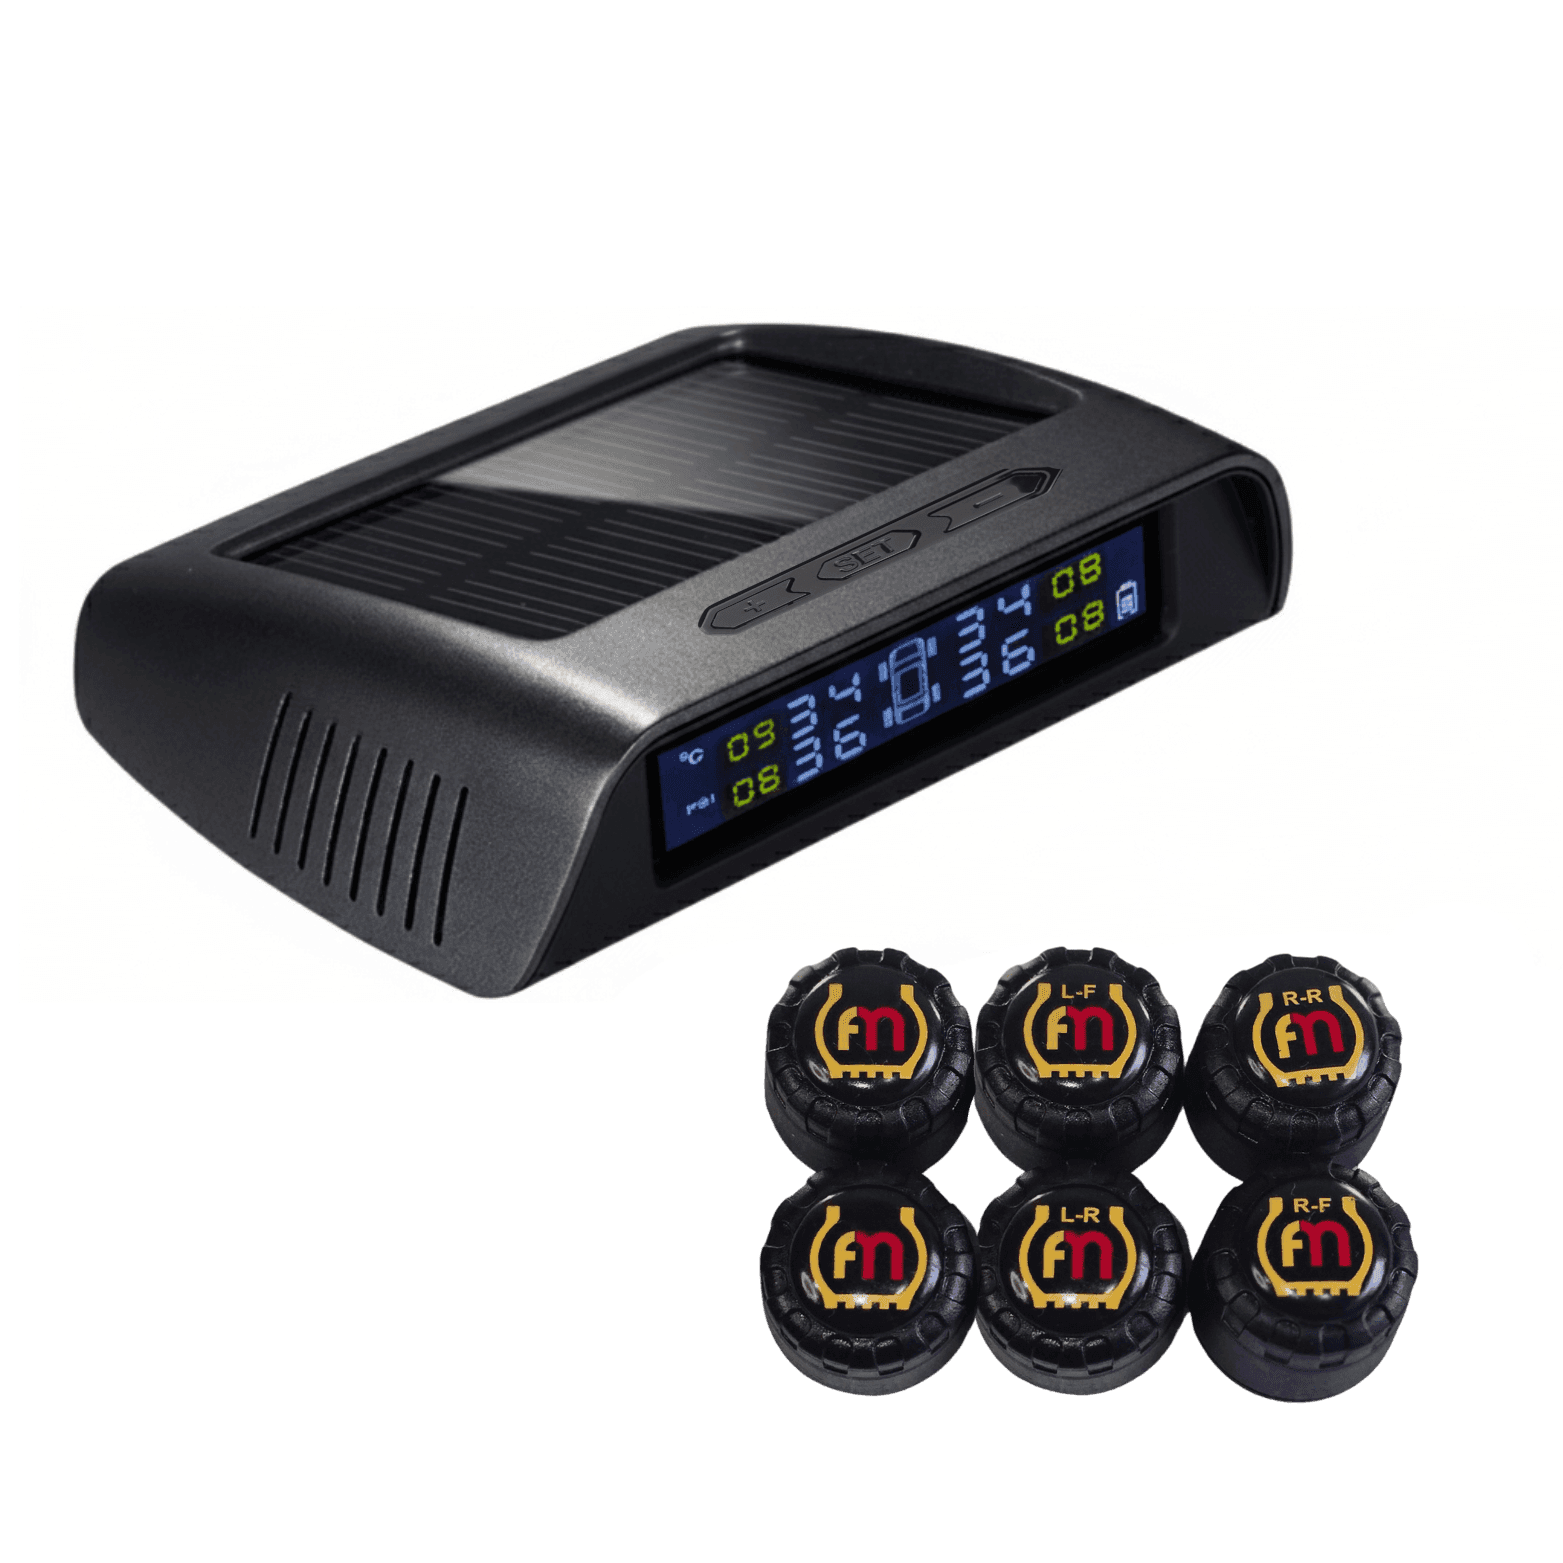
Each sensor is marked for its wheel, such as "R-F" for right front and "L-R" for left rear. Match each sensor to its wheel.
- Take off the valve's dust cap.
- Screw on the anti-theft nut that comes in the box.
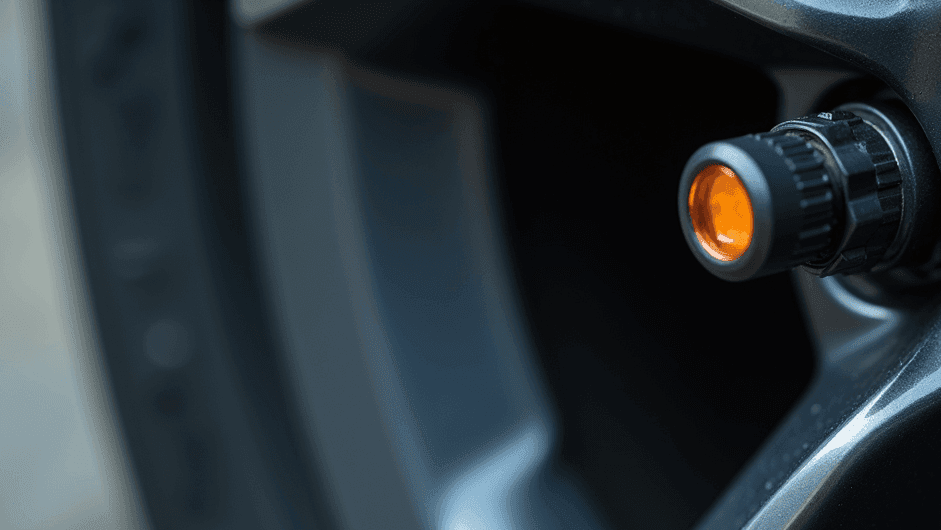
- Screw the sensor firmly onto the valve.
- Wind the anti-theft nut back up against the sensor with a small spanner, so it's locked in place.
Tip: once it's tight, spray a little soapy water on the sensor. No bubbles means a good seal.
Step 2: Put the screen on the dash
The screen is solar charged, so it sits on the dash with no cords across the cabin.
- Turn it on with the minus (−) button on top. A new screen shows small dashes until the sensors connect.
- Set your alarms. Hold the Set button until the screen flashes, then use plus (+) and minus (−) to set the high pressure, low pressure and high temperature alarms for your load.

Step 3: Drive
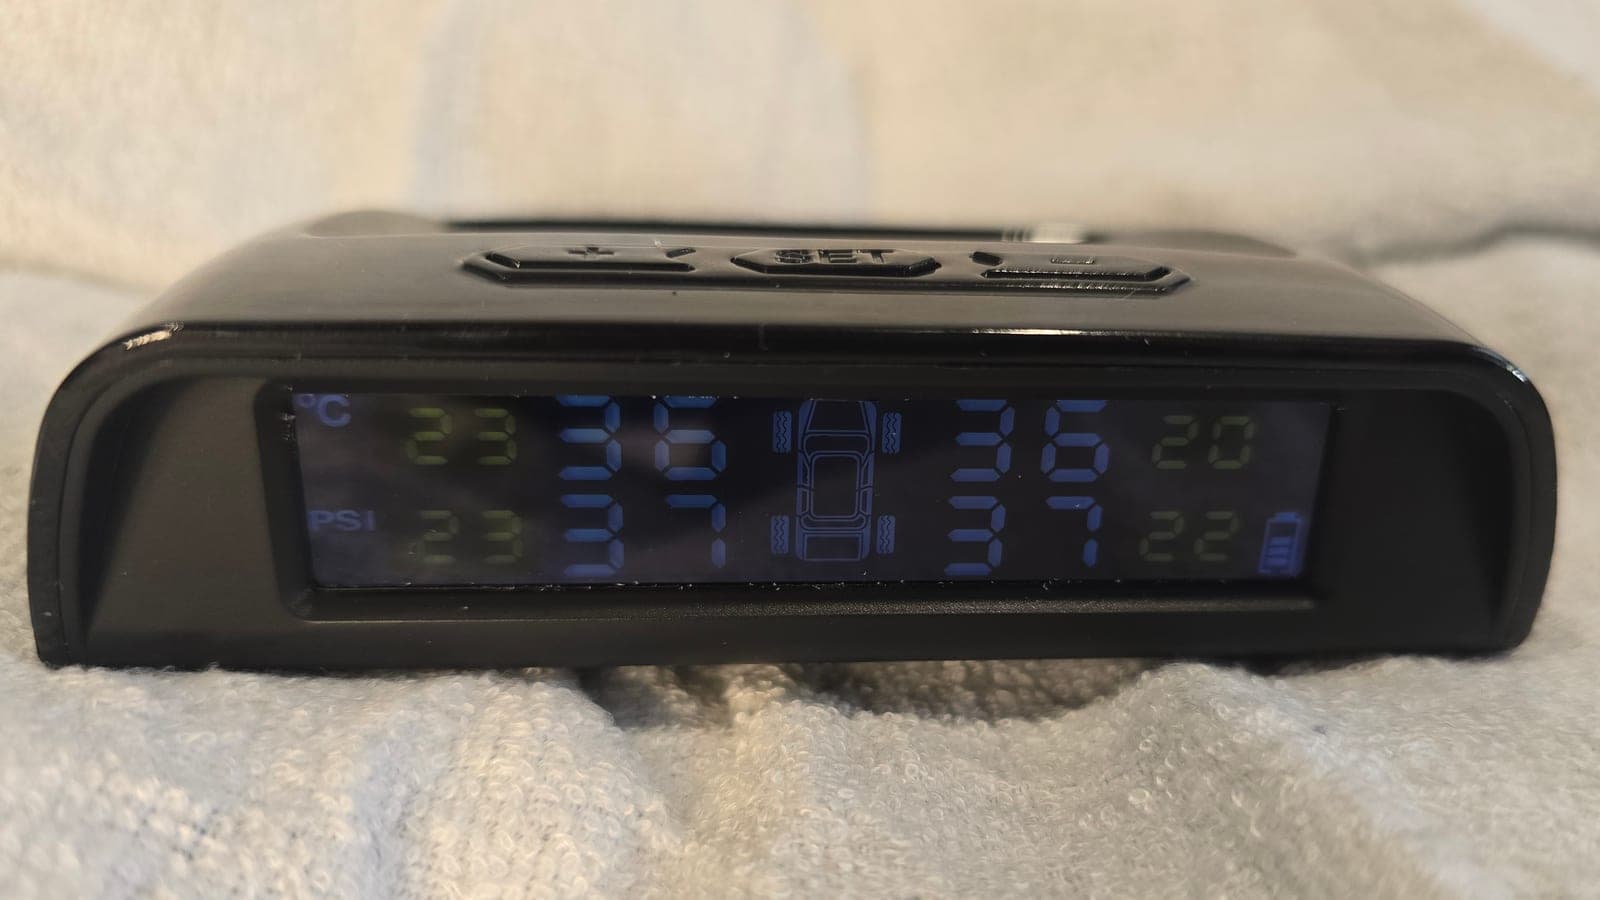
Once the sensors connect, the screen shows the pressure and temperature of every tyre.
The part that matters most is the alarm. If it beeps and the screen tells you to pull over, do it.
The alarm means a tyre is losing air, has dropped below your set level, or is running hot. Stop somewhere safe and check your tyres.
A tyre missing from the screen? See TPMS not working for the common causes.
Why fitting it matters
A tyre that's losing air rarely looks different at a glance. The Aura puts every tyre's pressure and temperature in front of you, so you can pull over early and check.
Towing? The Aura A6 Tow Pack watches 6 tyres and has a booster in the box. For more tyres, see the Guardian TPMS, or compare every TPMS kit.
Not sure what your rig needs? Email us your rig: info@flatmate-tpms.com